
If you want to accept Apple Pay payments on your website using Braintree, you need a secure HTTPS server and a simple backend. In this guide, I’ll show you how to build it step-by-step with Node.js, Express, and Braintree — including how to generate a local SSL certificate for HTTPS.
Requirements
- Node.js & npm installed
- Braintree sandbox account
- macOS, Linux, or Windows with
mkcertinstalled (or OpenSSL)
Step 1: Create Project Structure
mkdir applepay-braintree
cd applepay-braintree
npm init -y
npm install express braintree dotenv
Structure
applepay-braintree/
 ├─ certs/
 ├─ public/
 │   └─ index.html
 ├─ .env
 ├─ server.js
 ├─ package.json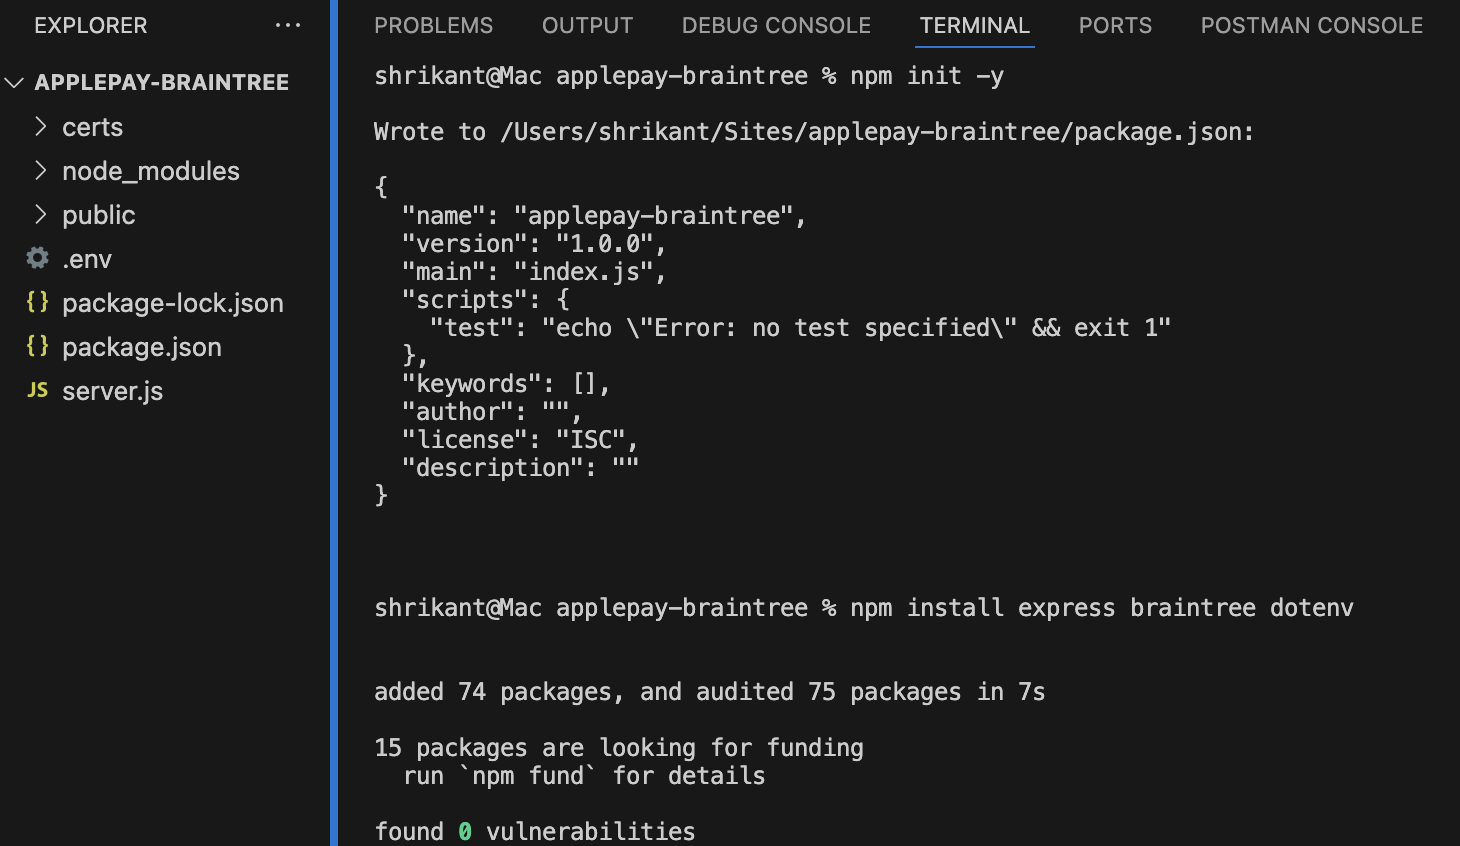
Step 2: Get Braintree Sandbox Keys
- Sign in to your Braintree Sandbox.
- Get your
Merchant ID,Public Key, andPrivate Key. - Add them to a
.envfile:
BRAINTREE_MERCHANT_ID=your_merchant_id
BRAINTREE_PUBLIC_KEY=your_public_key
BRAINTREE_PRIVATE_KEY=your_private_key
Step 3: Generate Local SSL Certificates
Use mkcert to create trusted local certs.
brew install mkcert
mkcert -install
mkcert localhost
cp localhost*.pem certs/
Copy the generated .pem files to a certs/ folder:
certs/
 ├─ cert.pem   (rename the .pem file)
 ├─ key.pem    (rename the -key.pem file)
Step 4: Create server.js
Here’s your full Node.js server with HTTPS, Braintree, and Express:
require('dotenv').config();
const express = require('express');
const braintree = require('braintree');
const path = require('path');
const fs = require('fs');
const https = require('https');

const app = express();
const port = 3000;

// HTTPS options - make sure these files exist!
const options = {
  key: fs.readFileSync('./certs/localhost-key.pem'),
  cert: fs.readFileSync('./certs/localhost.pem')
};

// Braintree Gateway with your real environment vars
const gateway = new braintree.BraintreeGateway({
  environment: braintree.Environment.Sandbox,
  merchantId: process.env.BRAINTREE_MERCHANT_ID,
  publicKey: process.env.BRAINTREE_PUBLIC_KEY,
  privateKey: process.env.BRAINTREE_PRIVATE_KEY
});

// Middleware for static files + JSON body
app.use(express.static('public'));
app.use(express.json());

// Serve HTML page
app.get('/', (req, res) => {
  res.sendFile(path.join(__dirname, 'public/index.html'));
});

// Generate client token
app.get('/client_token', async (req, res) => {
  try {
    const response = await gateway.clientToken.generate({});
    res.send(response.clientToken); // CORRECT — send the generated token
  } catch (err) {
    console.error('Failed to generate client token:', err);
    res.status(500).send('Could not generate client token');
  }
});

// Handle payment
app.post('/checkout', async (req, res) => {
  const nonceFromClient = req.body.paymentMethodNonce;
  const amount = req.body.amount; // Get amount dynamically from client

  if (!amount) {
    return res.status(400).send({ success: false, message: 'Missing amount' });
  }

  const saleRequest = {
    amount: amount,
    paymentMethodNonce: nonceFromClient,
    options: { submitForSettlement: true }
  };

  try {
    const result = await gateway.transaction.sale(saleRequest);

    if (result.success) {
      res.send({ success: true, transactionId: result.transaction.id });
    } else {
      console.error('Transaction failed:', result);
      res.send({ success: false, message: result.message });
    }
  } catch (err) {
    console.error('Error during checkout:', err);
    res.status(500).send({ success: false, message: 'Server error' });
  }
});

// Start HTTPS server
https.createServer(options, app).listen(port, () => {
  console.log(`HTTPS server running at https://localhost:${port}`);
});
Step 5: Create public/index.html
Add a simple page with the Braintree Apple Pay button.
<!DOCTYPE html>
<html lang="en">
<head>
  <meta charset="UTF-8" />
  <title>Apple Pay with Braintree - Dynamic Product</title>
  <script src="https://js.braintreegateway.com/web/3.92.2/js/client.min.js"></script>
  <script src="https://js.braintreegateway.com/web/3.92.2/js/apple-pay.min.js"></script>
  <style>
    body {
      font-family: sans-serif;
      text-align: center;
      padding: 50px;
    }
    .product-card {
      max-width: 300px;
      margin: 0 auto 30px auto;
      border: 1px solid #ccc;
      border-radius: 8px;
      padding: 16px;
      box-shadow: 0 2px 5px rgba(0,0,0,0.1);
    }
    .product-card img {
      max-width: 100%;
      height: auto;
    }
    #apple-pay-button {
      width: 250px;
      margin: 0 auto;
    }
    #result {
      margin-top: 20px;
      font-weight: bold;
    }
  </style>
</head>
<body>

  <h1>Apple Pay Checkout</h1>

  <!-- Product Card -->
  <div class="product-card" data-price="19.99">
    <img src="https://fastly.picsum.photos/id/4/5000/3333.jpg?hmac=ghf06FdmgiD0-G4c9DdNM8RnBIN7BO0-ZGEw47khHP4" alt="Product Image">
    <h2 class="product-title">Sample Product</h2>
    <p class="product-description">This is a simple description of the product you’re buying.</p>
    <p class="product-price">$19.99</p>
  </div>

  <!-- Apple Pay Button -->
  <div id="apple-pay-button"></div>

  <div id="result"></div>

  <!-- JS Integration -->
  <script>
    fetch('/client_token')
      .then(response => response.text())
      .then(clientToken => {
        braintree.client.create({
          authorization: clientToken
        }, function (clientErr, clientInstance) {
          if (clientErr) {
            console.error(clientErr);
            return;
          }

          braintree.applePay.create({
            client: clientInstance
          }, function (applePayErr, applePayInstance) {
            if (applePayErr) {
              console.error(applePayErr);
              return;
            }

            if (!window.ApplePaySession || !ApplePaySession.canMakePayments()) {
              document.getElementById('result').innerText = 'Apple Pay is not available.';
              return;
            }

            const button = document.createElement('button');
            button.className = 'apple-pay-button';
            button.style.cssText = 'appearance: -apple-pay-button; -webkit-appearance: -apple-pay-button; width: 100%; height: 44px;';

            button.onclick = function () {
              // Get product price dynamically
              const productCard = document.querySelector('.product-card');
              const totalAmount = productCard.getAttribute('data-price') || '0.00';

              const paymentRequest = applePayInstance.createPaymentRequest({
                total: { label: 'Your Company', amount: totalAmount }
              });

              const session = new ApplePaySession(3, paymentRequest);

              session.onvalidatemerchant = function (event) {
                applePayInstance.performValidation({
                  validationURL: event.validationURL,
                  displayName: 'Your Company'
                }, function (err, merchantSession) {
                  if (err) {
                    console.error(err);
                    session.abort();
                    return;
                  }
                  session.completeMerchantValidation(merchantSession);
                });
              };

              session.onpaymentauthorized = function (event) {
                applePayInstance.tokenize({
                  token: event.payment.token
                }, function (err, payload) {
                  if (err) {
                    console.error(err);
                    session.completePayment(ApplePaySession.STATUS_FAILURE);
                    return;
                  }

                  fetch('/checkout', {
                    method: 'POST',
                    headers: { 'Content-Type': 'application/json' },
                    body: JSON.stringify({ paymentMethodNonce: payload.nonce, amount: totalAmount })
                  })
                  .then(response => response.json())
                  .then(result => {
                    if (result.success) {
                      session.completePayment(ApplePaySession.STATUS_SUCCESS);
                      document.getElementById('result').innerText = 'Payment successful! Transaction ID: ' + result.transactionId;
                    } else {
                      session.completePayment(ApplePaySession.STATUS_FAILURE);
                      document.getElementById('result').innerText = 'Payment failed: ' + result.message;
                    }
                  });
                });
              };

              session.begin();
            };

            document.getElementById('apple-pay-button').appendChild(button);
          });
        });
      });
  </script>

</body>
</html>
Step 6: Run your server
node server.jsOpen https://localhost:3000 in Safari on macOS/iOS (Apple Pay only works there).
You’ll see the Apple Pay button and a success message when done!
GitHub Repo
You did it!
- You now have a secure local Node.js project with Apple Pay + Braintree.
- HTTPS is handled with mkcert for local trust.
- You’re ready to deploy with a real SSL for production.