
In the rapidly evolving world of web development, Chrome extensions continue to offer developers powerful tools to enhance browser functionality. In 2025, with Manifest V3 and new features in place, creating a Chrome extension has become even more streamlined and efficient.
This guide will walk you through everything you need to know—from setting up your project directory to writing the core files—ensuring that you can build a fully functional Chrome extension from scratch. Whether you’re a seasoned developer or a curious beginner, you’ll find actionable insights and tips to get your project off the ground and into the Chrome Web Store.
Table of Contents
1. Set Up Your Project Directory
Create a new folder (my-2025-extension) for your Chrome extension project. Inside, you’ll place your configuration files, scripts, icons, and any HTML/CSS files.
2. Create the Manifest File
Chrome extensions use a
manifest.jsonfile to define their behavior and permissions. For Chrome’s Manifest V3 (which is current in 2025), your manifest might look like this:
{
  "manifest_version": 3,
  "name": "My 2025 Extension",
  "version": "1.0",
  "description": "A sample Chrome extension created in 2025.",
  "action": {
    "default_popup": "popup.html",
    "default_icon": {
      "16": "icons/icon16.png",
      "48": "icons/icon48.png",
      "128": "icons/icon128.png"
    }
  },
  "background": {
    "service_worker": "background.js"
  },
  "permissions": [
    "storage",
    "tabs"
  ],
  "content_scripts": [
    {
      "matches": ["https://*/*"],
      "js": ["contentScript.js"]
    }
  ]
}
Tip: Always check the Chrome Developers documentation for any updates on manifest standards or additional features introduced in 2025.
3. Create the Core Files
popup.html: This file defines the UI when a user clicks your extension’s icon.
<!DOCTYPE html>
<html lang="en">
<head>
  <meta charset="UTF-8" />
  <meta name="viewport" content="width=device-width, initial-scale=1.0" />
  <title>My 2025 Extension</title>
  <link rel="stylesheet" href="popup.css" />
</head>
<body>
  <h1>Hello from 2025!</h1>
  <button id="actionButton">Click Me</button>
  <script src="popup.js"></script>
</body>
</html>
popup.js: Add interactivity to your popup.
document.getElementById('actionButton').addEventListener('click', () => {
  alert('Button clicked!');
});
background.js: This service worker can handle background tasks or events.
chrome.runtime.onInstalled.addListener(() => {
  console.log('Extension installed in 2025!');
});
contentScript.js: If you need to interact with web pages directly, use a content script.
// Example: Highlight all paragraphs on supported pages.
document.querySelectorAll('.test p').forEach((p) => {
  p.style.backgroundColor = 'green';
});
popup.css: Style your popup.
body {
  font-family: Arial, sans-serif;
  width: 300px;
  padding: 10px;
}

h1 {
  font-size: 1.5em;
}

button {
  padding: 8px 12px;
  background-color: #4285f4;
  color: white;
  border: none;
  border-radius: 4px;
  cursor: pointer;
}Icons: Create an icons folder and add your icon files (16×16, 48×48, 128×128). Generate Chrome extension icons quickly and easily.
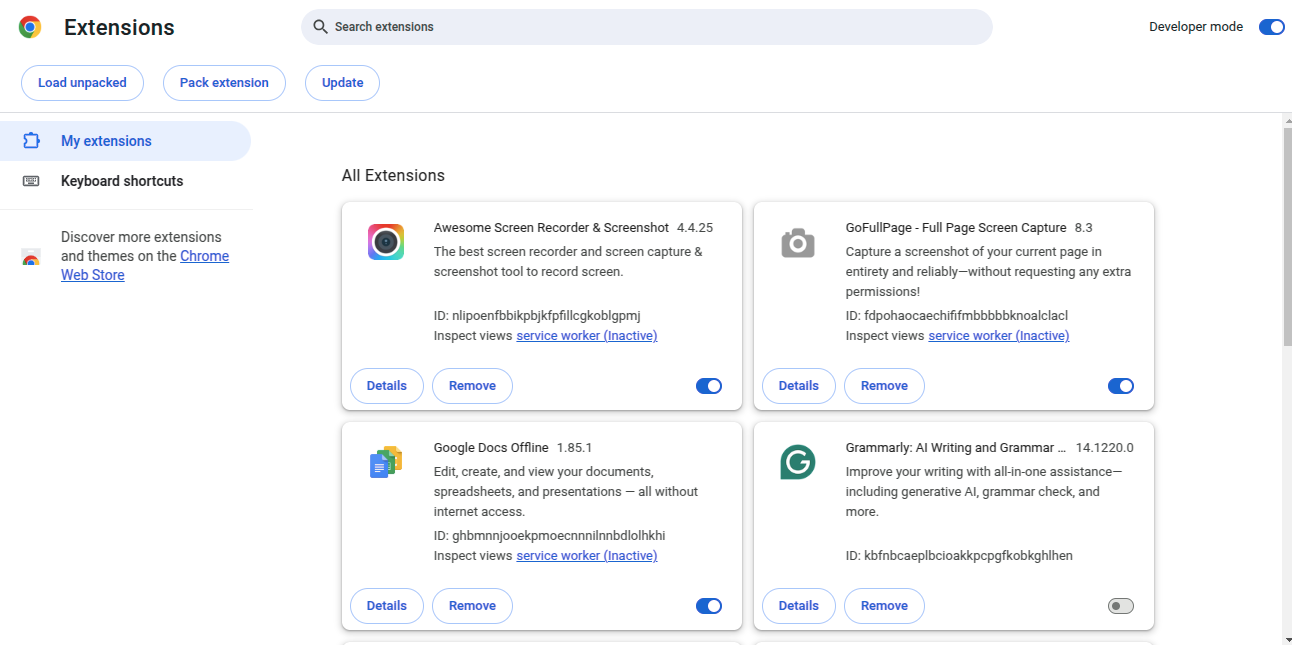
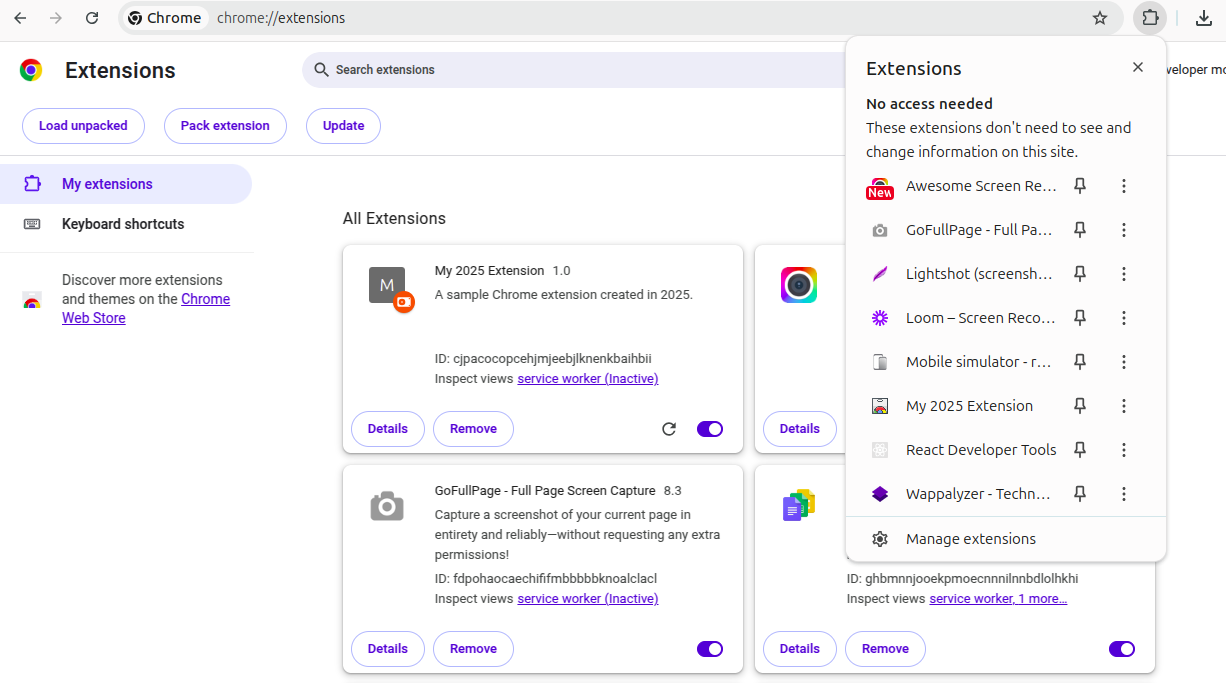
4. Load and Test Your Extension Locally
- Open Google Chrome and navigate to
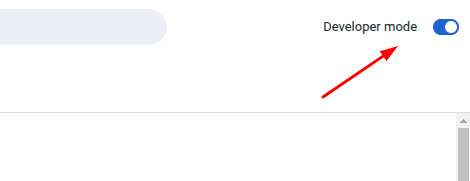
chrome://extensions/. - Enable Developer mode (toggle is usually at the top-right).
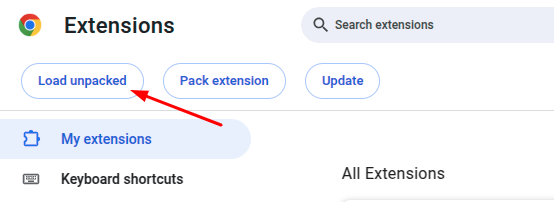
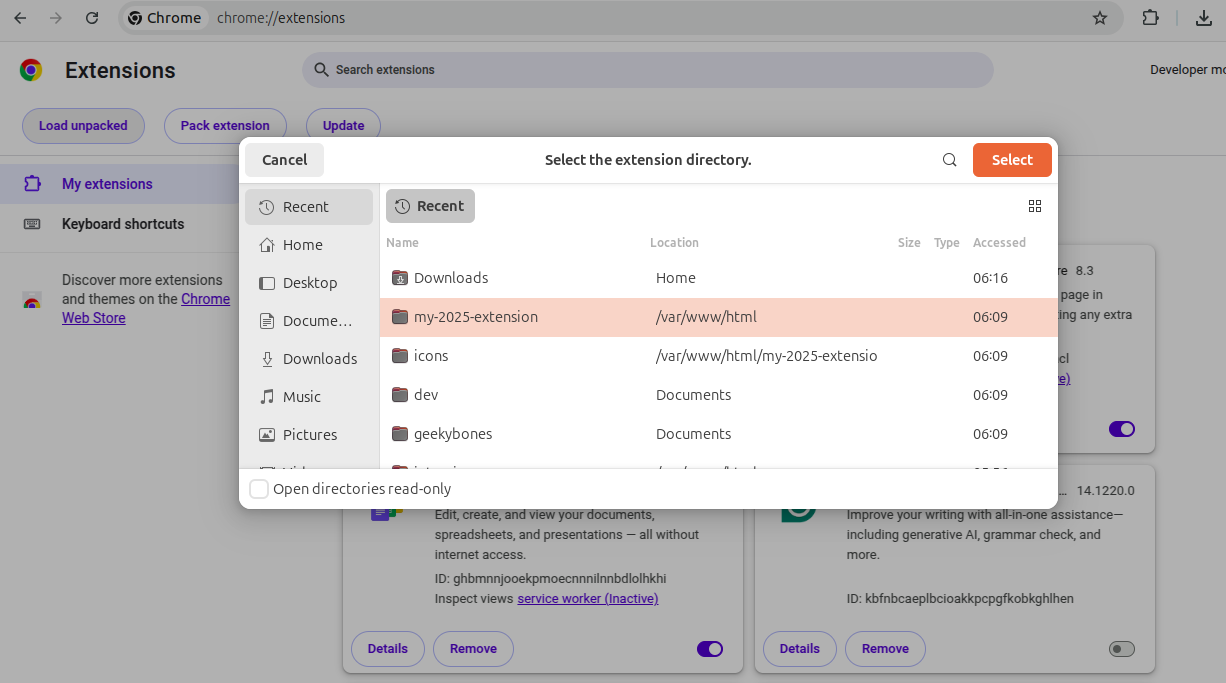
- Click Load unpacked and select your project folder.
- Your extension should now be visible. Click on the extension icon to open the popup and test the functionality.
4.1: Open Google Chrome and navigate to chrome://extensions/.
4.2: Enable Developer mode (toggle is usually at the top-right).
4.3: Click Load unpacked and select your project folder.
4.4: Your extension should now be visible. Click on the extension icon to open the popup and test the functionality.
5. Debug and Iterate
- Use the Chrome DevTools: You can inspect your popup and background scripts by right-clicking inside the popup and selecting “Inspect.”
- Console Logs: Use
console.login your scripts to debug issues.
6. Publish Your Extension
When you’re ready, you can package and submit your extension to the Chrome Web Store following their submission guidelines.
Additional Resources
For those interested in expanding their skills with APIs, check out our Top 10 Free APIs for Practice in 2025 and improve your JavaScript mastery with our Master ES6 JavaScript – Complete Guide at Master ES6 JavaScript – Complete Guide.