Table of Contents
Docker is a powerful platform for developing, shipping, and running applications in containers. This Docker install tutorial will guide you through the installation process on Windows, macOS, and Linux.
Prerequisites
Before starting the Docker installation, ensure you meet the following requirements:
- A 64-bit operating system
- Administrative privileges
- Internet connection
1. Install Docker on Windows
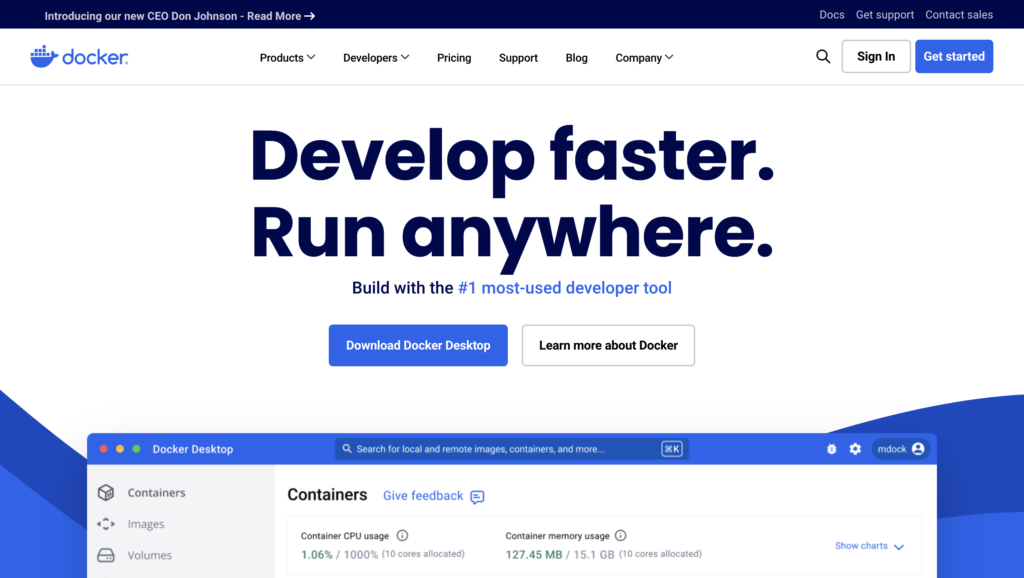
- Download Docker Desktop: Visit Docker’s official website and download Docker Desktop for Windows.
- Run the Installer: Double-click the installer and follow the on-screen instructions.
- Enable WSL 2 Backend: Ensure Windows Subsystem for Linux (WSL 2) is enabled for better performance.
- Complete Installation: Once installed, launch Docker Desktop and verify the installation by running:
docker --version2. Install Docker on macOS
- Download Docker Desktop: Go to the Docker website and download Docker Desktop for macOS.
- Install Docker: Open the downloaded
.dmgfile and drag Docker to the Applications folder. - Start Docker: Launch Docker from Applications and verify the installation:
docker --version3. Install Docker on Linux
Update Package List: Open a terminal and update your system:
sudo apt update && sudo apt upgrade2. Install Dependencies: Ensure essential packages are installed:
sudo apt install apt-transport-https ca-certificates curl software-properties-common3. Add Docker Repository: Add Docker’s official GPG key and repository:
curl -fsSL https://download.docker.com/linux/ubuntu/gpg | sudo gpg --dearmor -o /usr/share/keyrings/docker-archive-keyring.gpg
echo "deb [arch=$(dpkg --print-architecture) signed-by=/usr/share/keyrings/docker-archive-keyring.gpg] https://download.docker.com/linux/ubuntu $(lsb_release -cs) stable" | sudo tee /etc/apt/sources.list.d/docker.list > /dev/null
4. Install Docker Engine: Execute the following commands:
sudo apt update
sudo apt install docker-ce docker-ce-cli containerd.io
5. Verify Docker Installation: Check if Docker is installed and running:
docker --version
sudo systemctl status docker
4. Post-Installation Steps
Enable Docker Without sudo:
sudo usermod -aG docker $USER
newgrp docker
Test Docker Installation: Run the hello-world container:
docker run hello-worldConclusion
In this Docker install tutorial, you’ve learned how to install Docker on Windows, macOS, and Linux. With Docker set up, you’re ready to create and manage containerized applications effortlessly. Explore Docker’s powerful features and streamline your development workflow.
Additional Resources
For those interested in expanding their skills with APIs, check out our Top 10 Free APIs for Practice in 2025 and improve your JavaScript mastery with our Master ES6 JavaScript – Complete Guide at Master ES6 JavaScript – Complete Guide.