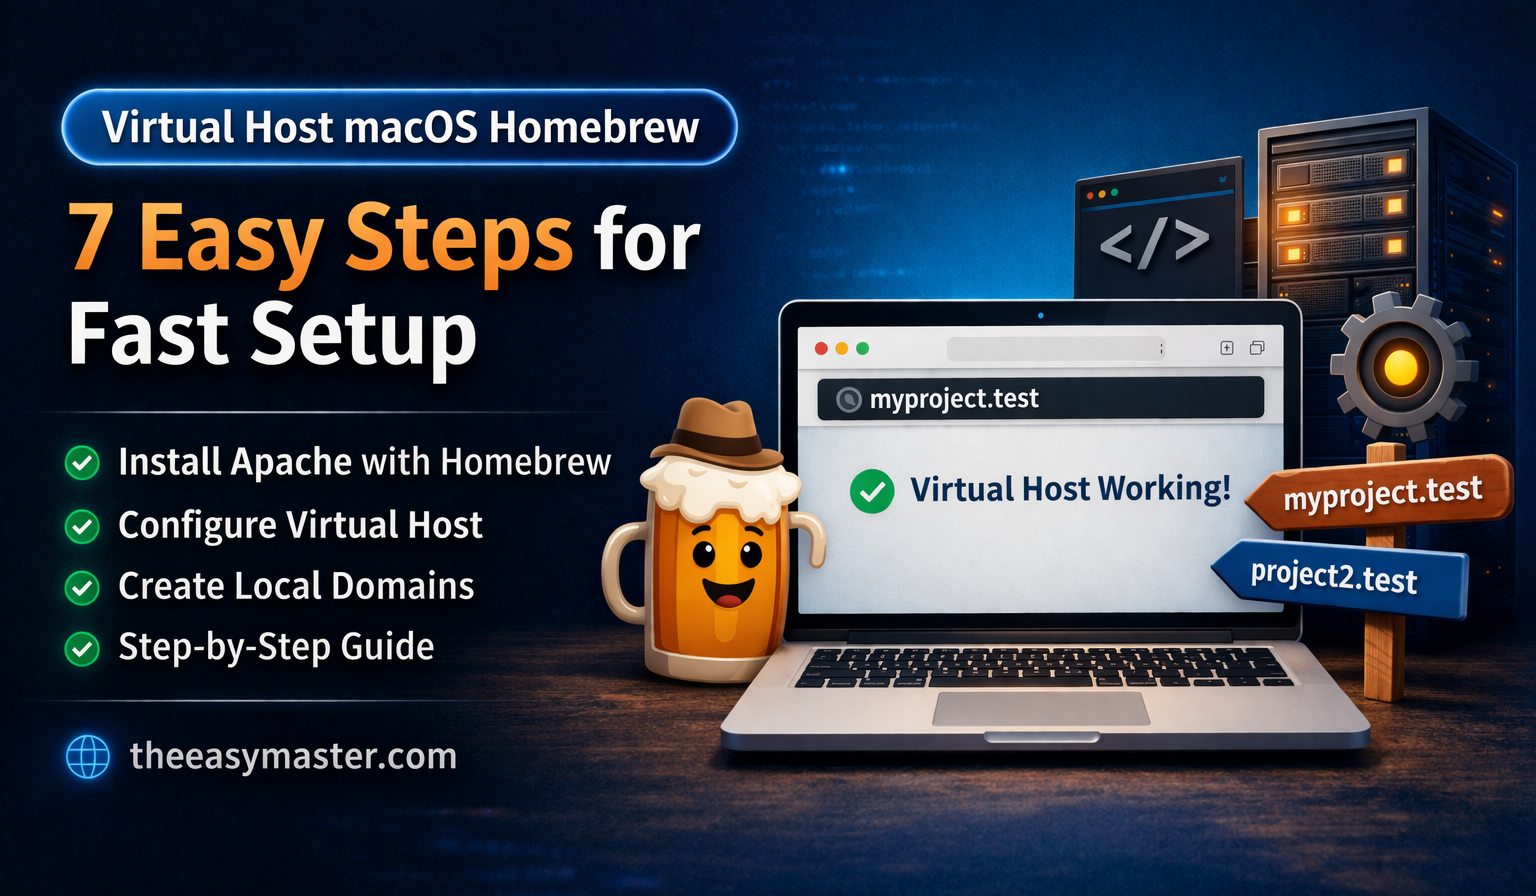
Setting up a virtual host macOS Homebrew environment is one of the smartest ways to improve your local development workflow. Instead of using messy URLs like localhost/project, you can create clean and professional domains such as myproject.test.
In this complete guide, you’ll learn how to set up everything step by step using Apache.
Table of Contents
What is Virtual Host macOS Homebrew?
A virtual host macOS Homebrew setup allows you to run multiple local websites using custom domain names. This makes your development environment closer to a live server.
Benefits of Virtual Host macOS Homebrew
- Clean and SEO-friendly URLs
- Easy project management
- Real-world testing environment
- Better workflow for developers
Step 1: Install Apache
Run:
brew install httpd
brew services start httpd
Official Homebrew: https://brew.sh/
Apache Docs: https://httpd.apache.org/
Step 2: Create Project Folder
mkdir -p ~/Sites/myproject
echo "<h1>Virtual Host Working</h1>" > ~/Sites/myproject/index.html
Step 3: Enable Virtual Hosts
Open config:
nano /opt/homebrew/etc/httpd/httpd.confUncomment:
Include /opt/homebrew/etc/httpd/extra/httpd-vhosts.confStep 4: Configure Virtual Host macOS Homebrew
<VirtualHost *:80>
    ServerName myproject.test
    DocumentRoot "/Users/YOUR_USERNAME/Sites/myproject"
    <Directory "/Users/YOUR_USERNAME/Sites/myproject">
        AllowOverride All
        Require all granted
    </Directory>
</VirtualHost>
Step 5: Update Hosts File
sudo nano /etc/hostsAdd:
127.0.0.1 myproject.testStep 6: Restart Apache
brew services restart httpdStep 7: Test Virtual Host macOS Homebrew
Open:
http://myproject.testCommon Errors & Fixes
403 Error
Add:
Require all grantedNot Working
- Restart Apache
- Check hosts file
- Verify paths
Internal Resources
Web Development 2026: क्या 2026 में Web Development सीखना सही है?
Set Up Microsoft Clarity in Minutes
Master ES6: A Complete Feature Guide with Examples
Pro Tips
- Use
.testdomain - Keep projects organized
- Use Git for version control
Conclusion
A virtual host macOS Homebrew setup helps you create a professional local environment. It improves workflow, saves time, and makes development more efficient.